Quick Setup Guide
UE5 Experience System Version: 1.0Step by Step Setup Video Guide:
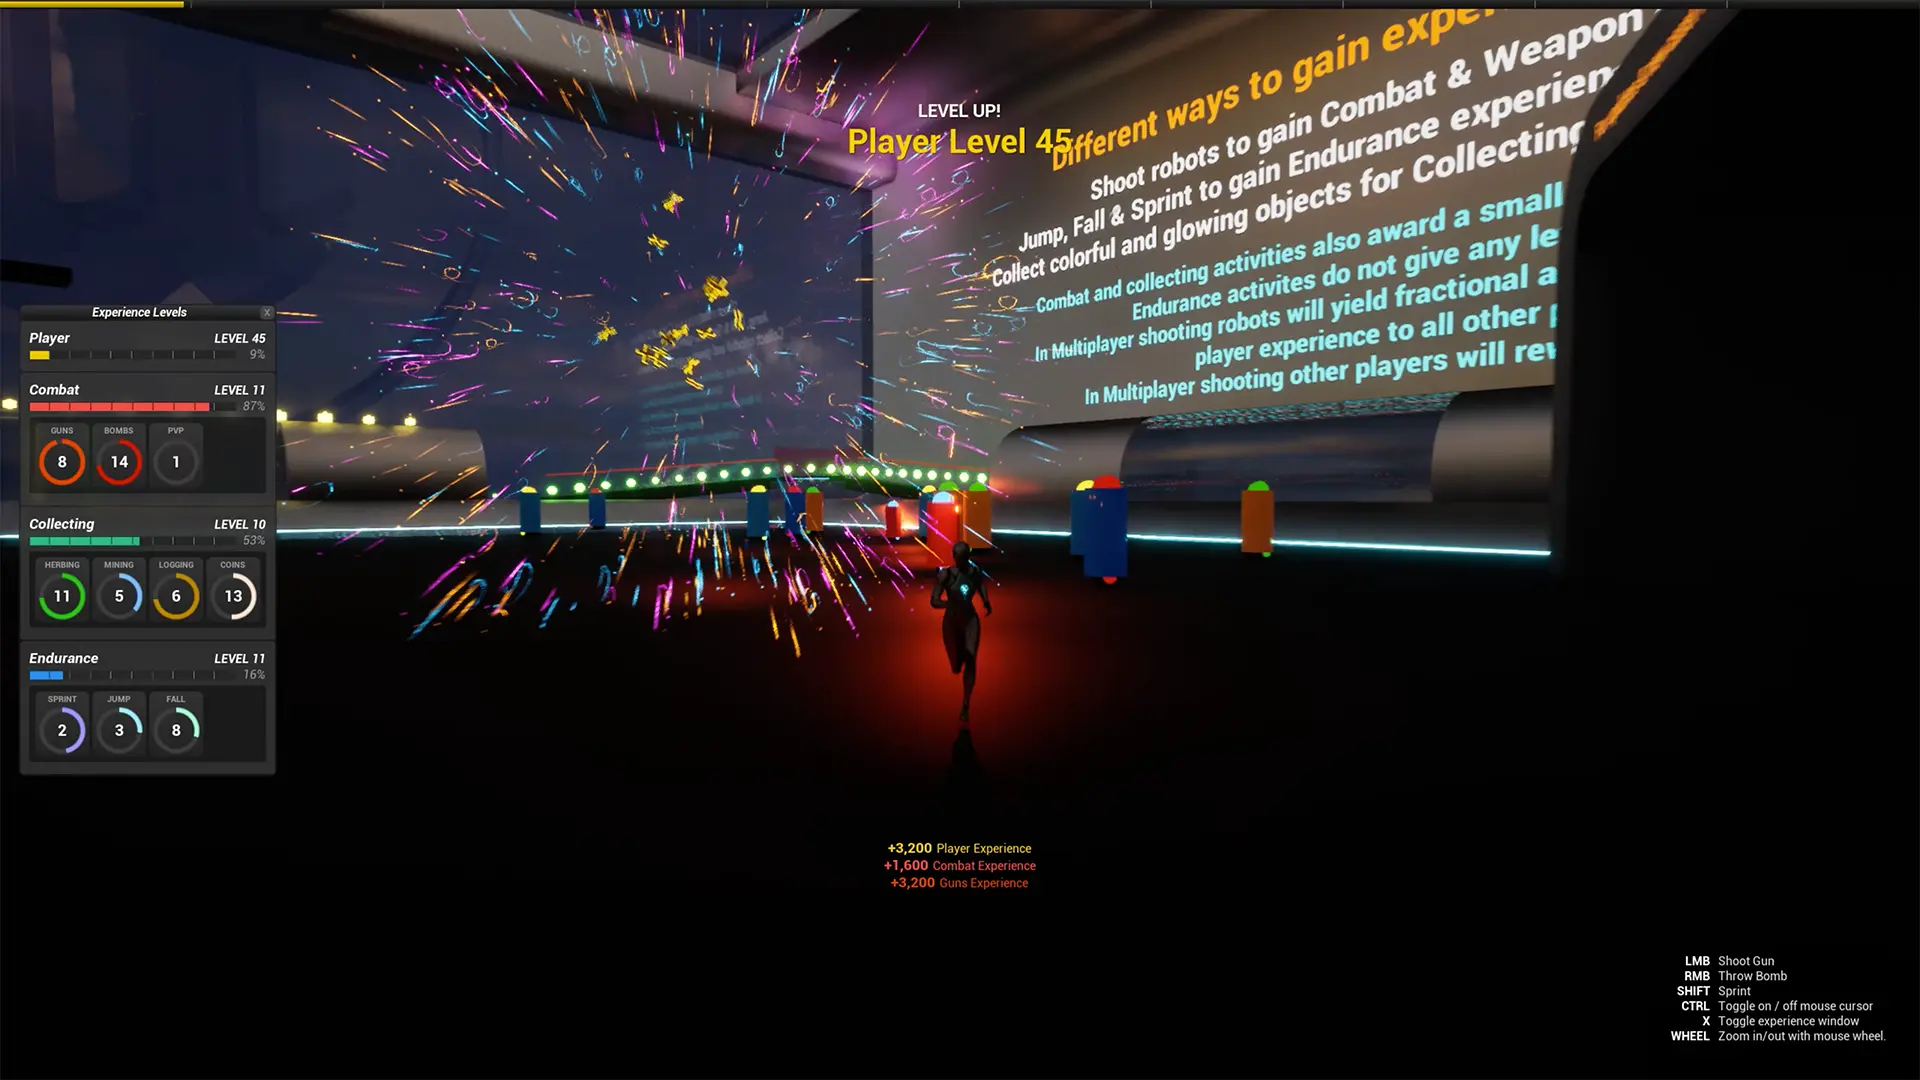
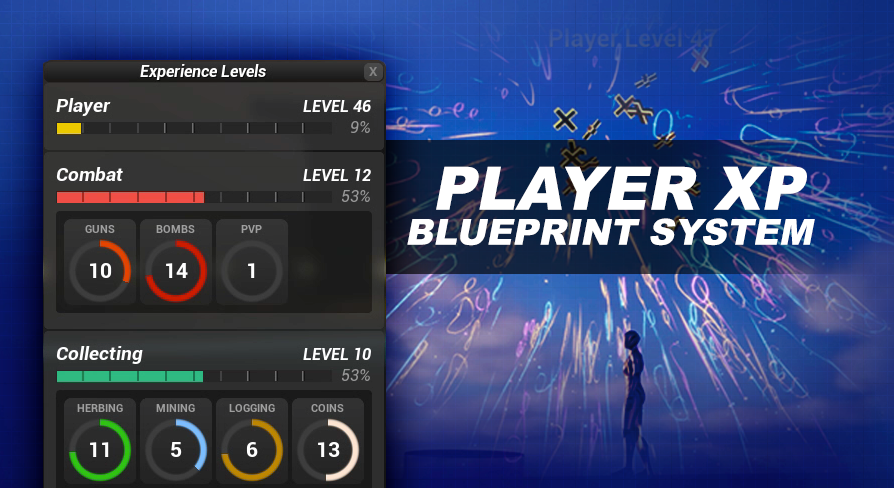
How to setup the Experience System
- Add the Experience System to your project using the Vault section of the Epic Launcher, then open your project.
- Open up your player controller, If you don’t have a player controller you are going to need to make one, and connect it to your game mode before continuing. After opening your Player Controller click the Add component button on the components window, then search for and select “Experience System (Player Controller)”. Compile, save and hit play. If everything is working properly you should see an empty experience bar at the top edge of your screen.
How to get a reference to the experience component
You can get a reference to the AC_ExperienceSystem any time by getting the player controller and running the getComponentByClass function, then select AC_ExperienceSystem from the drop down. If you plan to use this reference in multiple locations in the same blueprint I recommend storing the reference to this component in a variable instead of calling the getComponentsByClass multiple times.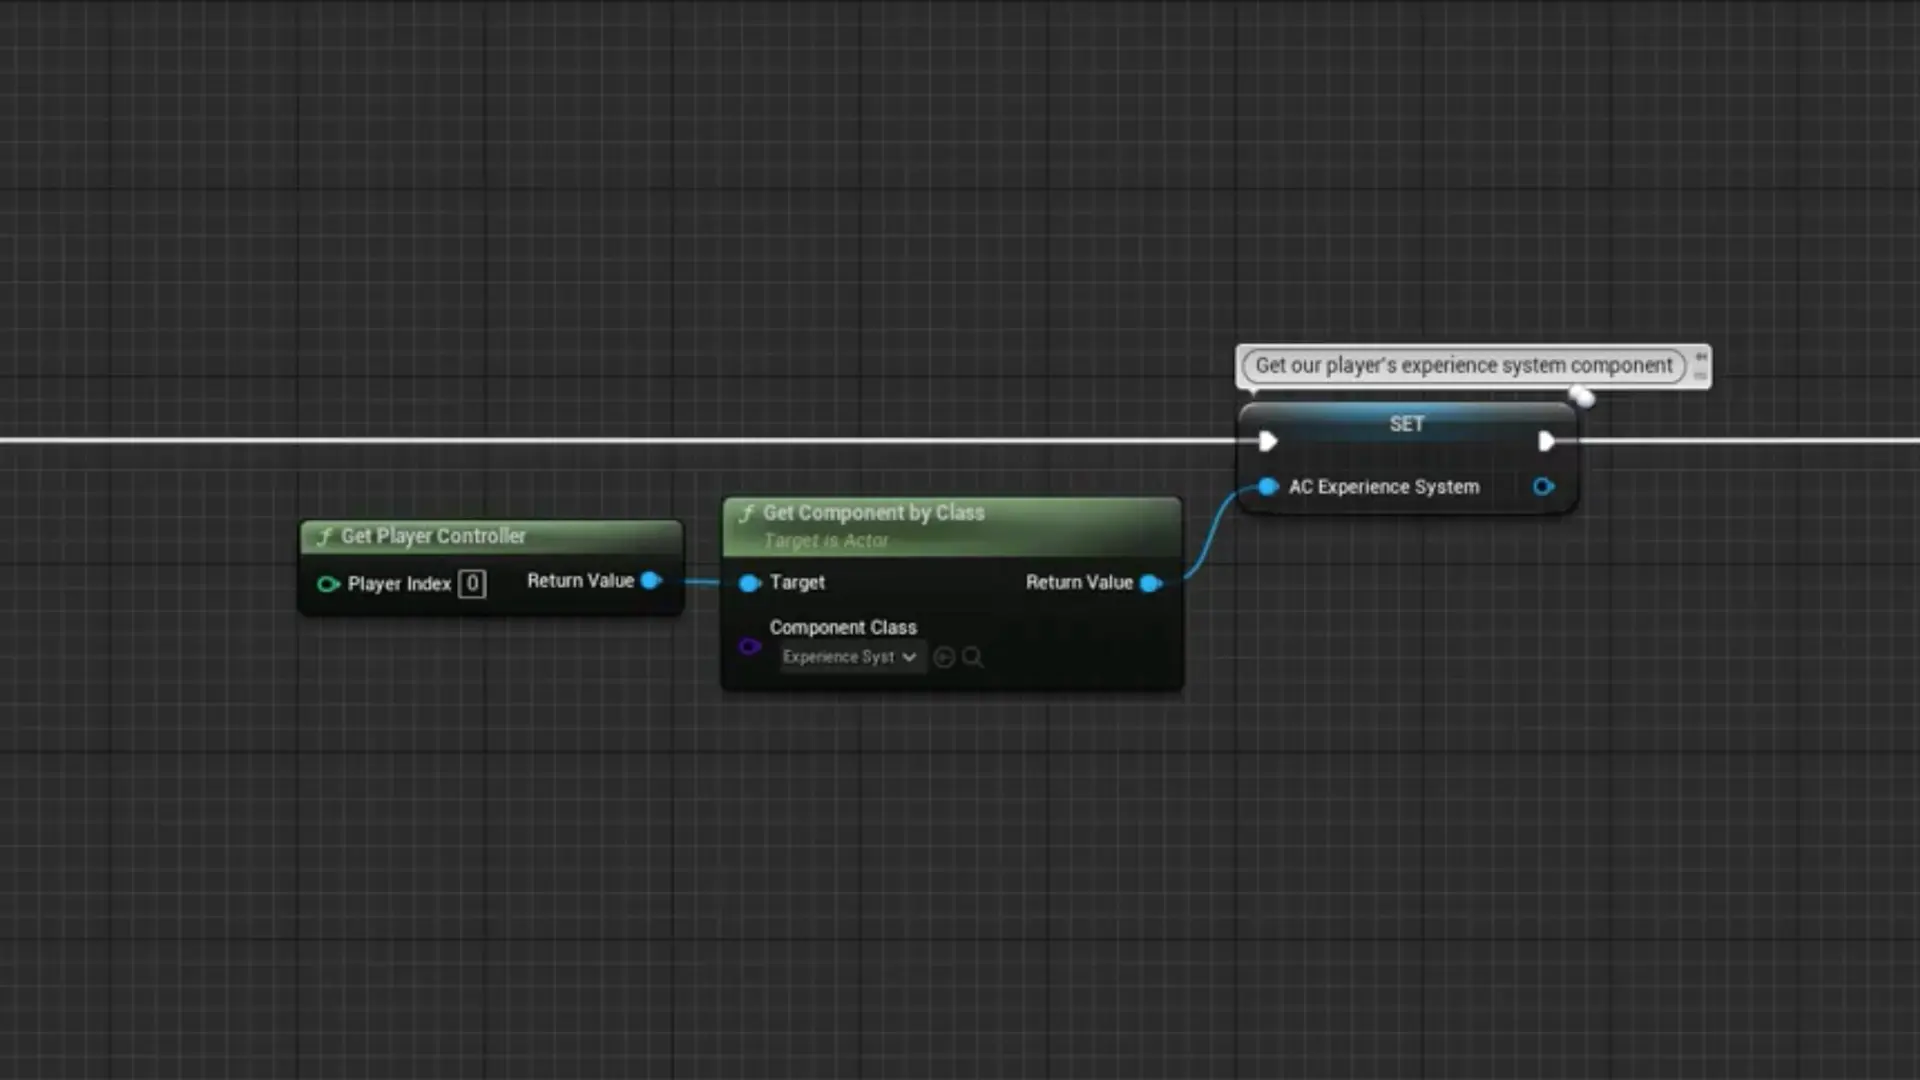
How to customize the Experience System HUD location or type
By default the experience bar will show at the top of the screen, if you would like to change this to the bottom, or switch to the Micro HUD you will want to change the HUDLocation variable on the details panel of the component we attached to the player controller. Select the component then from the details panel navigate to Default > Experience System > HUD, the HUDLocation is a drop down and should be set to “Edge - Top”. You can also disable showing this HUD by setting the value of HUDLocation to null.
How to change the experience type tracked by the default HUD
By default the HUD you select will use the experience type “level”, this is one of the starter experience types I included in the data table. We can change the default experience type used in the same location as we did for the HUDLocation in the last step, the variable to change this time is HUDExperienceTypeDefault and this should reference a row name in your experience data table for the experience type you would like to use. The system will use this experience type until the player changes it (by clicking on a different experience type inside the experience window).
How to add, remove or change Experience Types
To add, remove or edit your experience type data navigate to the Blueprints\Variables\DataTables folder and open up DT_Experiences. By default you should see all the sample experience types I am tracking in the demo world, you can remove all these and add your own, make sure you set a unique, easy to remember and type row ID for each one like I am doing in the example. This Row ID is what we will use whenever we want to change the player’s experience for this type. Visit the ExperienceTypes section of this documentation for an outline of what all the variables are.